


Your body adapts to the demands you place on it, and then, eventually, it stops adapting, because the demand is no longer new. Progressive overload is the deliberate, ongoing increase in that demand: more load, more reps, more sets, or better-quality reps over time. It’s the single non-negotiable principle behind every meaningful strength and muscle result, and resistance machines happen to be one of the best environments in the gym to apply it safely and precisely.
Most lifters already sense this intuitively. Almost nobody genuinely believes that lifting the exact same weight for the exact same reps, forever, will keep producing new results. The part that trips people up isn’t the concept. It’s the execution: how much to add, when to add it, and what to do when the next jump feels impossible. This guide expands the progression content of our Complete Guide to Resistance Training Machines into a complete, standalone system you can actually run week to week.
This article contains Amazon affiliate links. As an Amazon Associate, we earn from qualifying purchases.
Progressive Overload in Brief
Short on time? Here’s the whole system in six lines.
- Pick a rep range for each exercise and stay in it until you’ve earned the right to move up.
- Add reps before you add weight. Reps are the safest, most available lever you have.
- Move up the smallest available increment only once every set hits the top of your range with clean form.
- Log every session: exercise, weight, sets and reps, and one note on how it felt.
- Deload every 6 to 12 weeks, or whenever performance clearly trends downward.
- Never let a heavier number cost you your form. A rep that costs your range or your setup isn’t progress.
What Progressive Overload Actually Means
Underneath the jargon is a simple rule: your body only builds more capacity than it currently needs when you consistently ask it for more than it currently has. Lift a weight that’s genuinely challenging, and your body responds by making the relevant muscle a little stronger and, over time, a little bigger, mostly so that the same task feels easier next time. That’s the adaptation half of the equation, and it’s the whole reason training works at all.
The catch is that adaptation is the goal, not a side effect to avoid. Once your muscles have adapted to a given weight and rep count, that exact same session stops being a meaningful challenge. Your body has already solved that specific problem. Repeating it indefinitely maintains what you have. It doesn’t build more. Progressive overload is simply the practice of noticing when a stimulus has stopped being new, and nudging it back into genuinely challenging territory before too much time passes.
This is also why the principle applies to reps, sets, and quality just as much as it applies to the number on the weight stack. Anything that makes a set a bit more demanding than the last comparable one, done consistently, counts as overload. The weight stack is just the most obvious dial, not the only one.
Why Machines Are Ideal for Overload
Progressive overload requires three things: a measurable stimulus, repeatable conditions, and controlled risk. Machines deliver all three at once, which is part of why they’re such a reliable place to build a long-term training log.
- Measurable: the weight stack is graduated in exact increments. You know precisely what you lifted last time, and by exactly how much you’ve increased it since.
- Repeatable: a fixed path means the 50 kg you pressed last week is mechanically the same 50 kg this week. Compare that to free weights, where small, invisible changes in technique or fatigue quietly alter what the exercise is actually asking of you from session to session.
- Controlled risk: no balance component, no bar that can trap you, no spotter required. You can push close to your true limits on a well-set-up machine with far lower technical risk than on a free-weight equivalent, provided your setup is correct and your form stays intact throughout the set.
None of this means machines are the only valid tool. It means that when the goal is specifically to track and increase a number over time with minimal technical noise getting in the way, machines make that job unusually easy.
Progressive Overload on Machines vs. Free Weights
The principle itself doesn’t change based on the equipment. What changes is how cleanly you can apply it.
- Signal clarity: on a machine, a harder set is unambiguous, since the resistance and the path are fixed. On a barbell or dumbbell exercise, a “harder” set can also mean your bar path drifted, your setup shifted, or your stabilizers fatigued differently, so the same number sometimes represents a different real effort from session to session.
- Increment size: free weights are usually limited by your smallest available plate, commonly 1.25 to 2.5 kg per side. Machines are limited by the stack’s own increments, which vary by machine but are at least just as predictable.
- What actually improved: a bigger free-weight number sometimes reflects genuinely stronger muscles, and sometimes reflects more efficient technique or better-practiced balance. A bigger machine number is a cleaner read on the muscle itself, since the machine already handled the balance and the path for you.
Neither is more real than the other. Machines simply give you a clearer, lower-noise signal to build your progression log around, which is exactly why this entire system reads so naturally onto them.
The Five Levers of Overload
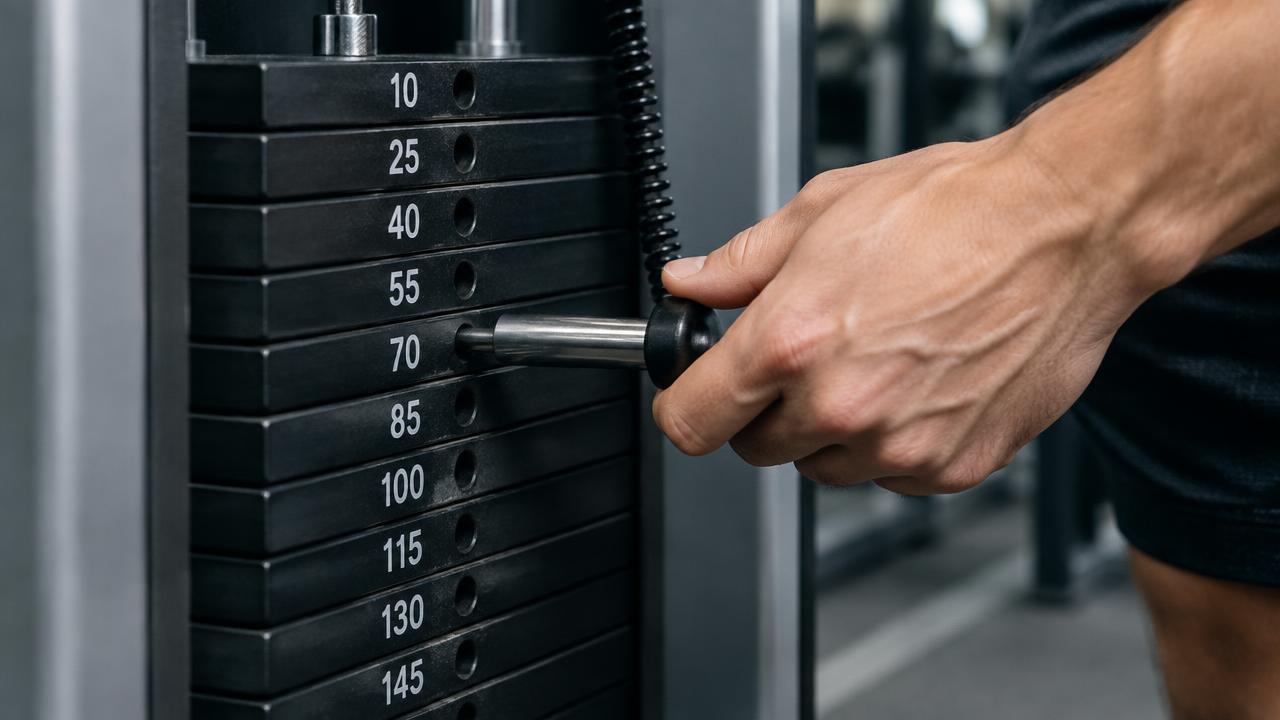
Weight is only one dial on the machine, and it’s not even the one you should reach for first. Here they are, ranked from most to least commonly used in a well-run program.
1. Load (the default, but not the first move)
Add the smallest available increment once you complete the top of your target rep range on every set with clean form.
- Weight-stack machines: move the pin up one plate, typically around 2 to 2.5 kg on most stacks.
- Plate-loaded machines: add the smallest plate available, typically around 1.25 to 2.5 kg per side.
2. Reps
Before adding load, squeeze more reps from the weight you’re already using. Completing 3 sets of 12 where you previously managed 3 sets of 9 is real progress, and it’s usually the correct first progression to reach for, since it carries essentially none of the risk a heavier weight does.
3. Sets
Moving from 3 sets to 4 at the same load and reps is a meaningful increase in total volume. This is especially useful during phases focused on muscle growth. Just keep an eye on your total weekly fatigue so extra sets don’t quietly turn into extra soreness with no extra progress.
4. Range of motion
A deeper, fully controlled rep is genuinely harder than a shorter one covering the same weight. Deepening your range safely, meaning your back stays on the pad and your pelvis doesn’t tuck under, overloads the muscle without ever touching the weight stack.
5. Tempo and quality
Slowing the lowering phase to 4 or 5 seconds, eliminating momentum, or removing rest-pauses between reps increases how long your muscle stays under tension, often substantially. Sometimes “same weight, better reps” is the correct progression, especially after a stretch of sessions where your technique has quietly drifted and speed has crept in to compensate.
The hierarchy in practice
Put together, the order looks like this: more reps first, then more load, then more sets, then harder execution. Cycling through these levers keeps progress moving even when any single one of them jams. If your rep count won’t budge for a couple of sessions, that’s exactly the moment to lean on range of motion or tempo instead of just grinding at the same weight and hoping for a different result.
The Practical Progression Protocol
Step by step, here’s the whole system.
- Choose a rep range for each exercise, such as 8 to 12. The reps and sets guide covers how to pick the right range for your goal.
- Establish your working weight: the load you can handle for the bottom of that range with 1 to 2 reps in reserve.
- Session to session, add reps within the range. For example: Week 1, three sets of 8, 8, 8. Week 2, three sets of 9, 9, 8. Week 3, three sets of 10, 10, 9.
- When you hit the top of the range on every set (three sets of 12, in this example), add the smallest available increment and reset to the bottom of the range (three sets of roughly 8 to 9).
- Log everything: weight, reps, and one short form note. Overload only works when it’s deliberate, and deliberateness requires an actual memory of what you did, not a rough guess.
Double Progression, Explained

The protocol above, reps first and load second within a fixed range, is called double progression, and it’s the ideal default method for machine training. It self-regulates almost automatically: on days you’re fresh, you push for an extra rep or two; on days you’re not, you simply match what you did last time instead of forcing a number you don’t have. The load only increases once you’ve clearly demonstrated ownership of the weight you’re already using.
Here’s what that looks like written out on a generic pin-loaded machine over several weeks.
| Week | Weight | Sets x Reps | What changed |
|---|---|---|---|
| 1 | Pin 8 | 3 x 8, 8, 8 | Baseline: 1 to 2 reps in reserve on every set |
| 2 | Pin 8 | 3 x 9, 9, 8 | Reps climbing at the same weight |
| 3 | Pin 8 | 3 x 10, 10, 9 | Still climbing |
| 4 | Pin 8 | 3 x 12, 12, 11 | Nearly at the top of the range on every set |
| 5 | Pin 9 | 3 x 9, 8, 8 | Load increased, reps reset toward the bottom of the range |
Adopt this as your default approach and you’ll rarely stall for long, since there’s almost always some small, legitimate way to do slightly more than last time.
Working with Weight-Stack Increments: The Too-Big-a-Jump Problem
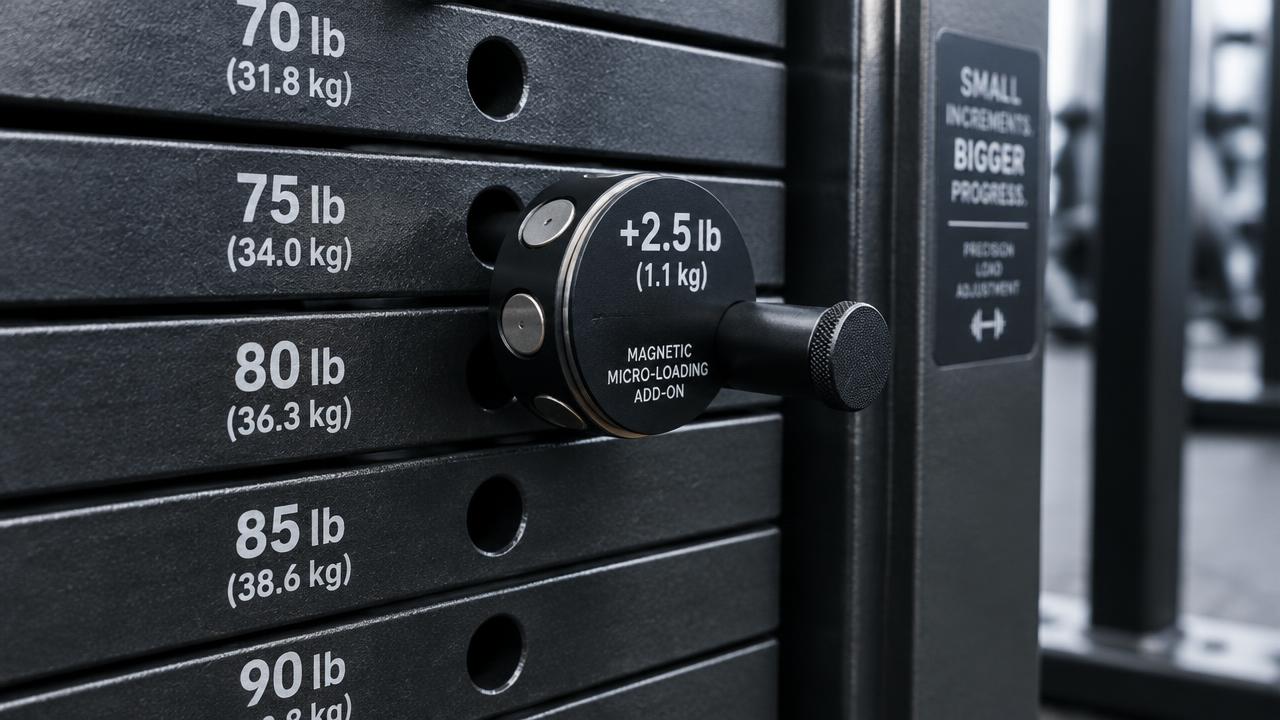
A common frustration: you complete 3 sets of 12 on a machine at 50 kg, move the pin up to the next setting at 52.5 kg, and suddenly you can only manage 3 sets of 7 with shaky form. The stack’s smallest available jump outpaced what your body was actually ready for. A few solutions, in order of preference:
- Add reps at the lower setting first. Push 3 sets of 12 up to 3 sets of 14 or 15 before you jump to the next pin. The extra rep volume builds the buffer that makes the next load increase manageable instead of jarring.
- Use a slower tempo at the new load. Accept fewer reps at the heavier setting initially, perhaps 3 sets of 8 or 9, and rebuild your reps over the following sessions. You still progressed. The load genuinely went up.
- Add a micro-set. After your working sets, do one extra, lighter back-off set at the old load for additional volume without forcing the heavier weight before you’re ready.
- Use fractional plates, on plate-loaded machines. Small add-on plates in the 0.5 to 1.25 kg range let you make jumps meaningfully smaller than the stack’s built-in increments allow. If your gym doesn’t stock them, a set of fractional weight plates is inexpensive and solves this exact problem permanently, for home training or for machines with unusually large jumps between settings.
Tracking: The Habit That Makes Everything Else Work
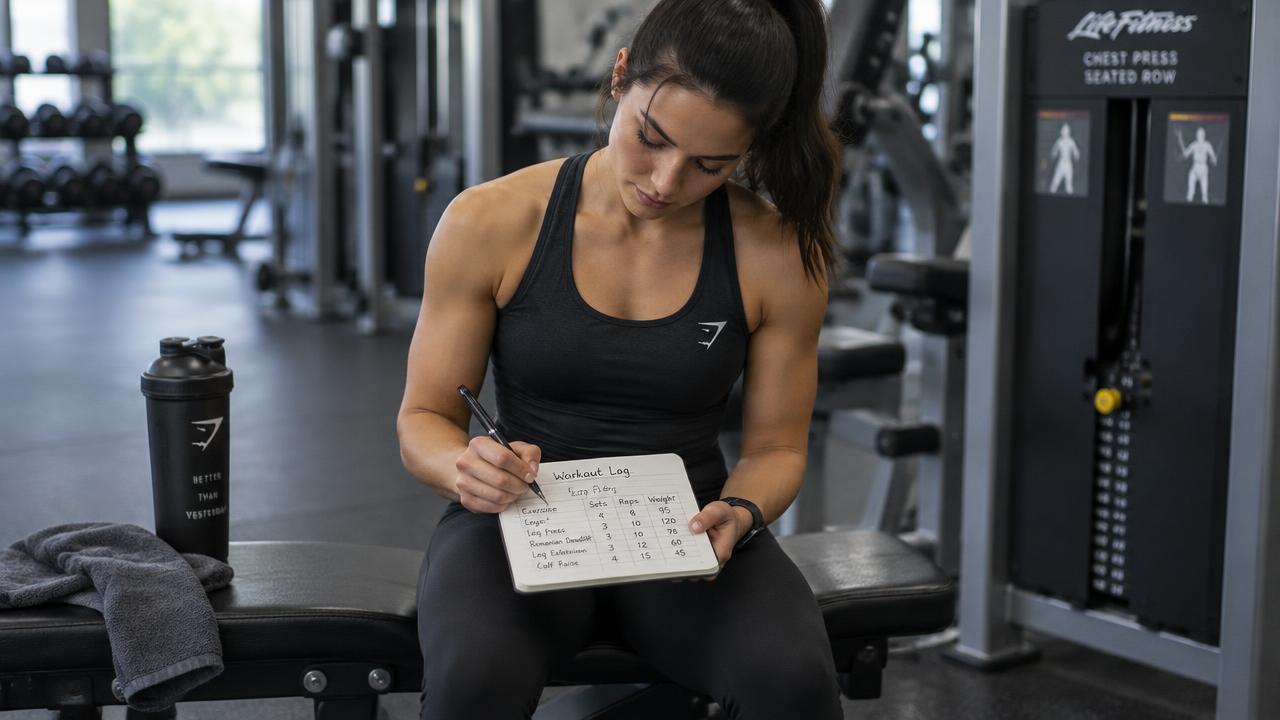
A minimal log needs only five things: the exercise, the load, the sets and reps, your effort level (however roughly you want to estimate it), and one short form note. Apps work. A notebook works. What doesn’t work is memory, since “I think I did about this much last time” is exactly the kind of vague benchmark that lets weeks go by with no real change to the number.
If you’d rather keep it simple and off your phone, a dedicated workout log notebook removes any friction between finishing a set and writing it down, which matters more for consistency than which system you pick.
A useful addition beyond the basics: note joint comfort too. “Knees felt great today” or “left shoulder a little cranky at the bottom” is exactly the kind of data that helps you catch a setup problem early and prevents small aches from turning into real injuries.
Plateaus: Diagnosis Before More Effort
If progress genuinely stalls for 2 to 3 weeks on a given exercise, the answer usually isn’t simply adding more sets and hoping. Diagnose first.
| Suspect | Check | Fix |
|---|---|---|
| Recovery | Sleeping under 7 hours? Protein intake low? Life stress unusually high? | Address sleep and nutrition first, covered in the nutrition and recovery guide |
| Effort | Are your working sets genuinely hard, roughly 1 to 2 reps from failure? | Push a little closer to that true effort level |
| Technique | Has your range quietly shortened? Has your tempo sped up without you noticing? | Re-film a set or refocus deliberately; restore the original quality |
| Volume | Are you only getting 4 to 6 hard sets a week for this muscle? | Add a set, or an extra session in the week |
| Duration | Have you run the same phase and rep range for 10-plus weeks straight? | Rotate your rep range, covered in the reps and sets guide |
Most “plateaus” turn out to be recovery or technique problems wearing a plateau costume. Rule those out before you assume you’ve simply hit a genuine ceiling.
Deloads: Planned Recovery, Not Quitting

Every 6 to 12 weeks of hard training, or whenever your performance trends downward for a week despite everything else looking fine, take a deload: cut your load or your total sets by roughly 40 to 50 percent for one week. Same exercises, same form, dramatically less accumulated fatigue. You typically come back measurably stronger, and your joints get a genuine break too.
Machines make deloads especially easy to execute precisely. Drop two or three pin settings, keep every other detail of the movement identical, and treat the lighter week as part of the plan rather than a step backward.
How Long Should a Progression Phase Last?
Most lifters do well running a given rep range and exercise selection for somewhere between 6 and 12 weeks before deliberately changing anything beyond the load itself. That’s long enough to genuinely adapt and see real numbers move, and short enough that you rotate your rep ranges and refresh your exercise selection before staleness or nagging joint fatigue has a chance to build up. Within that window, deloads are a planned pause, not a signal that the phase has failed.
The Form-First Rule
Progressive overload and good form are the same project, not competing ones. Every real progression should be earned by good form, never paid for with it. The moment a heavier load costs you your range of motion, your control, your joint position, or your tempo, you haven’t progressed. You’ve simply started lifting the same weight worse. This principle runs through the entire pillar guide, and it’s the one that keeps a lifter training productively for decades instead of cycling through injuries.
Frequently Asked Questions
How much weight should I add each time?
Whatever the smallest increment your machine allows, and only once every set at your current weight hits the top of your target rep range with clean form. Bigger jumps feel exciting but tend to force a rep range reset anyway, so there’s rarely a real advantage to skipping a smaller, more frequent increase.
Is progressive overload only about adding weight?
No. Reps, sets, range of motion, and tempo are all genuine levers, and for many lifters, reps are actually the lever that gets used most often week to week. Weight is just the most visible dial, not the only one that counts.
What if I can’t progress every single session?
That’s completely normal, and expected. Progress on any single lever happens in a wave, not a straight line. The goal is an upward trend over weeks and months, not a personal record every single time you walk into the gym. Matching your last session on a harder day is still part of a successful program.
How do I apply this to bodyweight or banded exercises?
The same five levers still apply. You can add reps, add sets, slow your tempo, or deepen your range exactly as described above. When you genuinely run out of room on all four, that’s the point to look at a way to add resistance directly, such as a weighted vest, a resistance band, or moving to a machine version of the same pattern.
Do I need to progress every exercise every week?
No, and trying to force it usually backfires. Some exercises will move quickly, others will sit at the same weight for several sessions while your body catches up, and that’s expected, not a failure. Judge your program over a period of months, not week to week on any single lift.
How do I know if I’m actually progressing, or just fooling myself?
Your log is the honest answer to this question. If your written numbers, whether that’s weight, reps, sets, or a controlled tempo, are trending upward over 6 to 8 weeks, you’re progressing. If you can’t answer the question without checking your memory, that’s usually the real problem, not your program.
Should I max out to test my true one-rep max?
Rarely, and not as a routine part of a machine-based program. Regularly testing a true one-rep max adds a lot of joint stress and fatigue for very little practical information, since your working sets already tell you whether you’re getting stronger. Save maximal testing for specific goals that genuinely require it, and let your rep-range progression be the main scoreboard the rest of the time.
The Takeaway
Pick a rep range, add reps before you add load, move up by the smallest increment once you’ve genuinely earned it, track everything, deload on a regular schedule, and never let the pursuit of a bigger number cost you your form. Small, boring, consistent increases compound into remarkable results over time. That’s progressive overload, and machines are its ideal, low-noise laboratory.
Return to the Complete Guide to Resistance Training Machines for the full cluster of technique, programming, and recovery articles.
This article is for general education and isn’t medical advice. If you have a health condition, an injury, or any doubt about whether resistance training is right for you, check with a doctor or qualified professional before you start.